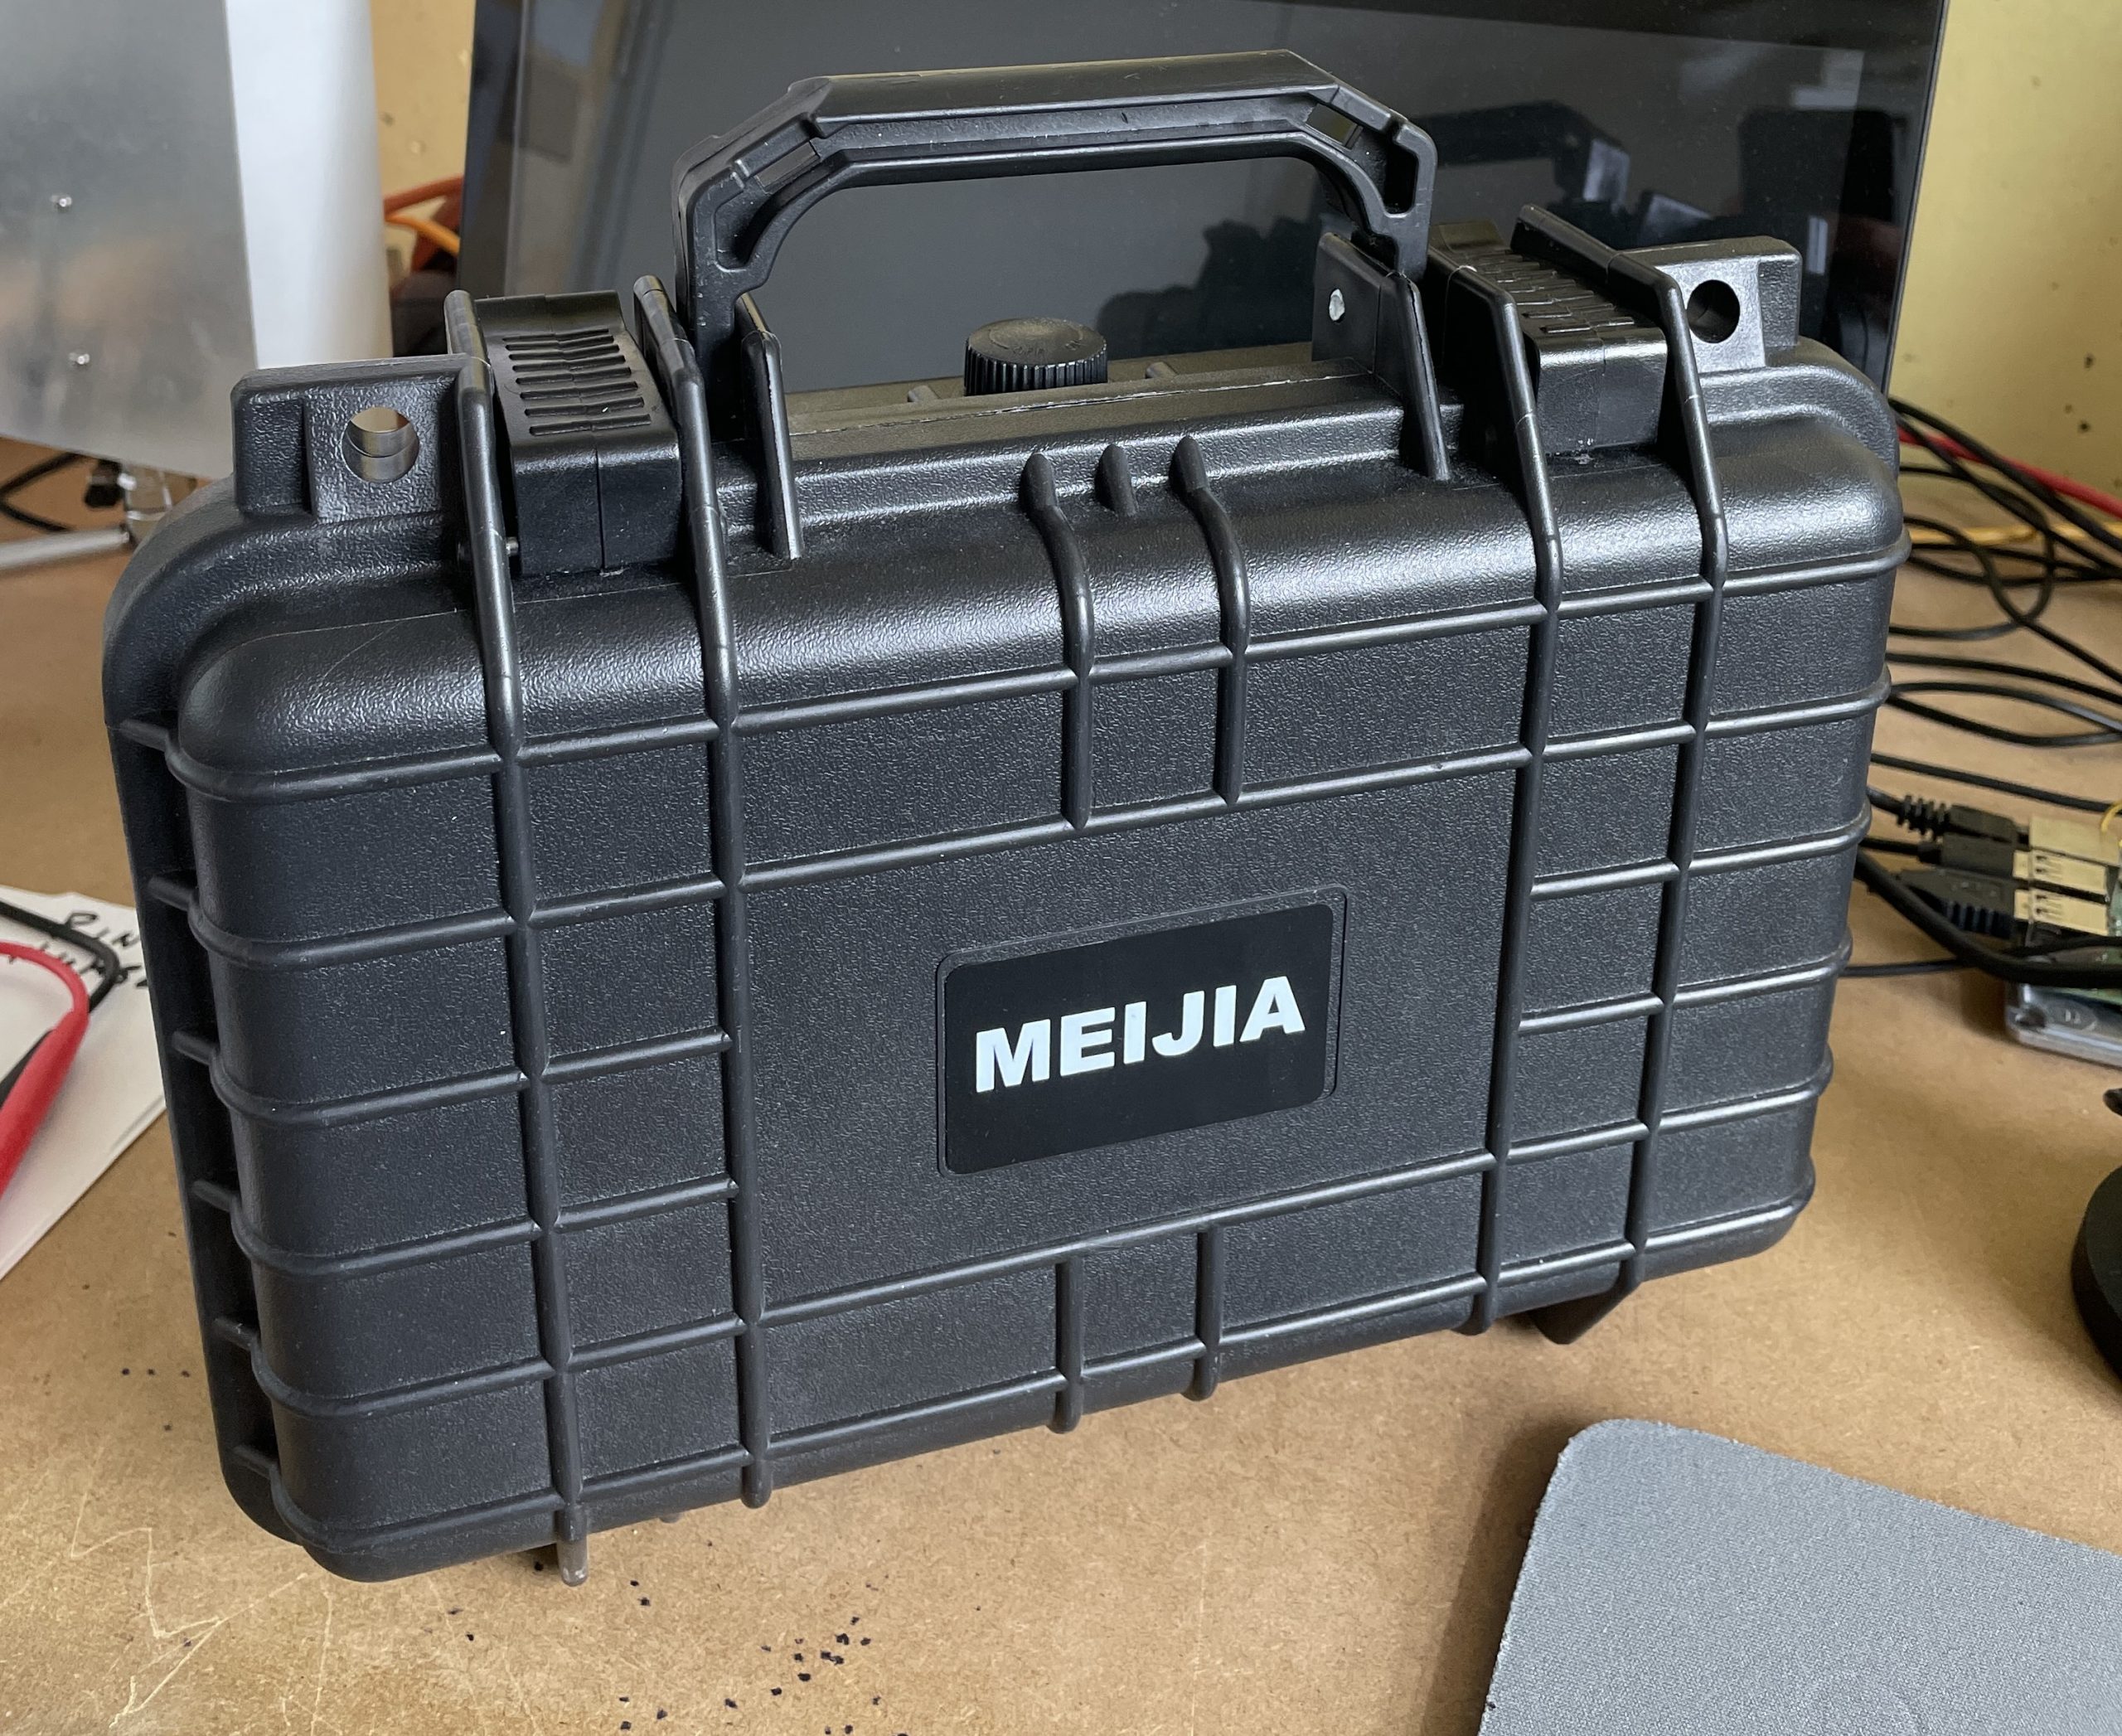
Dank der neuen GPIO-Integration in Videolooper seit Version v1.0.14 lassen sich leicht interaktive Video-Geräte bauen, hier in einem Meijia-Case. Billiger als ein Peli-Case!
Dank der neuen GPIO-Integration in Videolooper seit Version v1.0.14 lassen sich leicht interaktive Video-Geräte bauen, hier in einem Meijia-Case. Billiger als ein Peli-Case!
Legacy-Version required: 32-bit-version
Installer-Script:
#!/bin/bash

sudo apt-get update

sudo apt-get install -y git

sudo rm -rf LCD-show

git clone https://github.com/goodtft/LCD-show.git

chmod -R 755 LCD-show

cd LCD-show/

sudo ./LCD28-show

echo "2.8” RPi Display (MPI2801) ... finished"
Play one file at full hour and change back to normal one („b.mp4“) 🙂
timer.sh
#/bin/bash

mv /home/pi/video/b.mp4 /home/pi/video_off

mv /home/pi/video_off/a.mp4 /home/pi/video

# videoduration a.mp4

sleep 300

mv /home/pi/video/a.mp4 /home/pi/video_off

mv /home/pi/video_off/b.mp4 /home/pi/video
crontab
0 13 * * * /bin/bash /home/pi/timer.sh >> /home/pi/timer.log 2>&1

0 14 * * * /bin/bash /home/pi/timer.sh >> /home/pi/timer.log 2>&1

0 15 * * * /bin/bash /home/pi/timer.sh >> /home/pi/timer.log 2>&1

0 16 * * * /bin/bash /home/pi/timer.sh >> /home/pi/timer.log 2>&1
„Netvideo“ ist eine elegante Erweiterung, um Videos nicht von USB-Stick oder dem internen Verzeichnis abzuspielen, sondern über das Netzwerk. Vorteil: jede Änderung in dem Netzwerkverzeichnis wird unmittelbar erkannt und die Datei oder die Dateien werden ganz easy, vom Schreibtisch aus gesteuert, abgespielt. Macht richtig viel Sinn für mittlere und grosse Ausstellungsflächen.
Continue reading „Videolooper Netvideo: play videos from SMB-Sources“
To permanently disable video looper, i.e. to prevent it from ever starting on boot again, you can run a small script included with the video looper code. Connect to the Raspberry Pi in a terminal/SSH session and navigate to the folder where video_looper was downloaded, usualy the directory with this path /home/pi/pi_video_looper.
Continue reading „Start/Stop Videolooper“
Additional Script after a fresh raspberrypiOS (Buster Legacy Lite) Installation.
Continue reading „Install videolooper and waveshare driver alltogether“
